NOTE: When you Shop By Product, you'll find that every anchor description offers a PDF with technical specs and installation tips. If you're not sure which anchor to use, the installation overview below may be helpful.
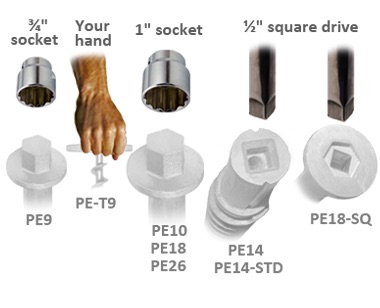
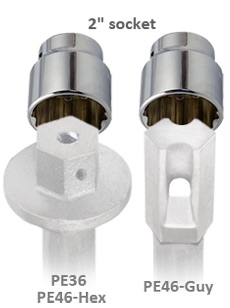
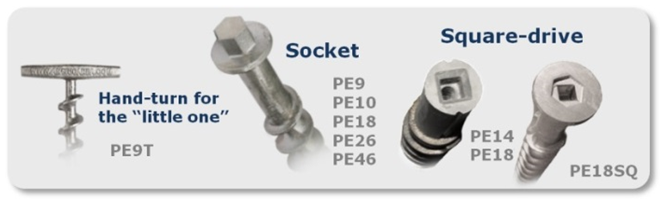
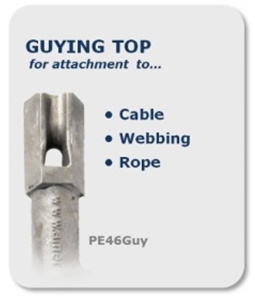
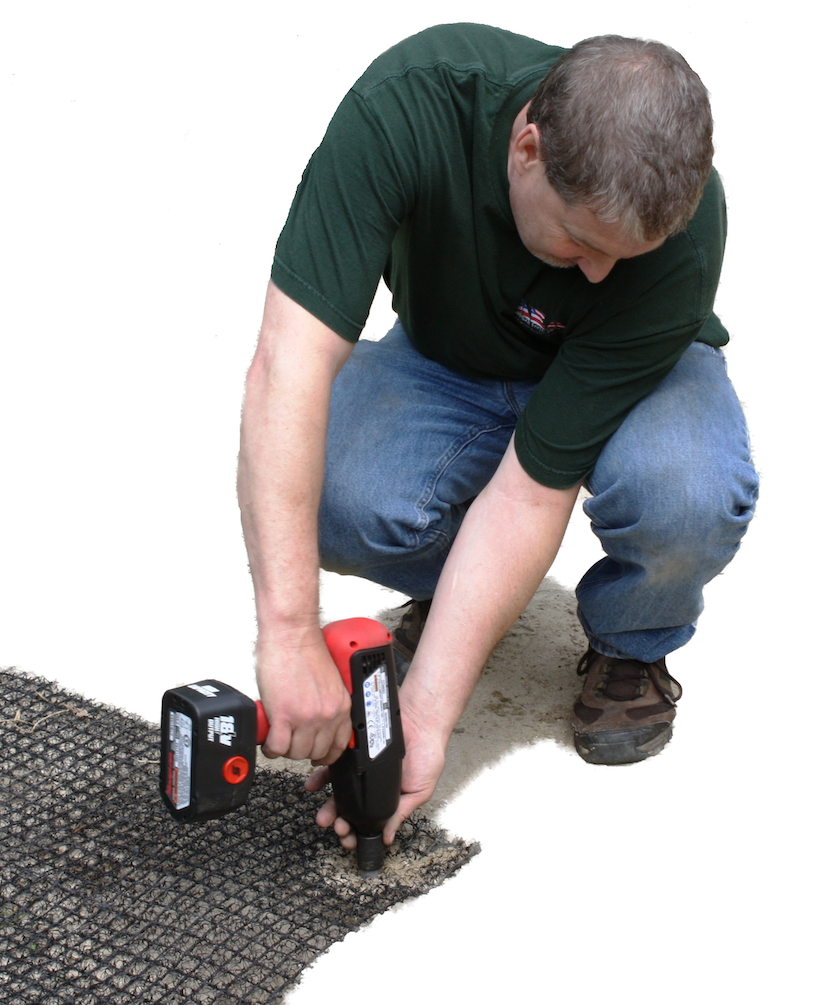
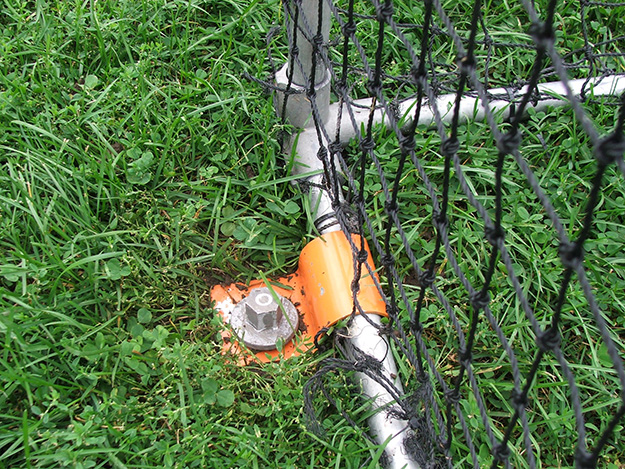
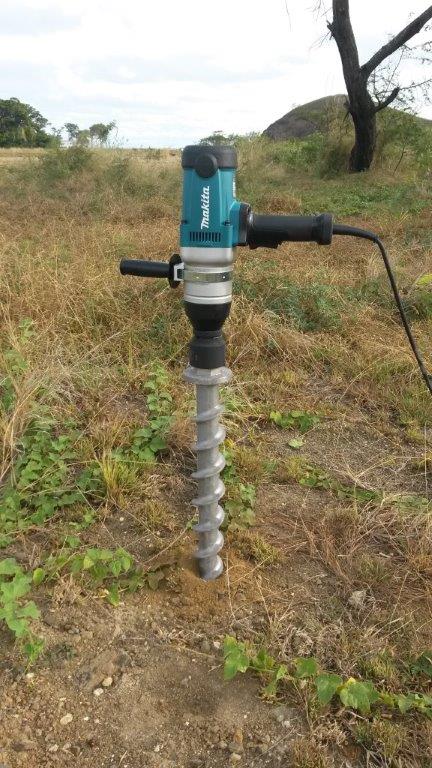
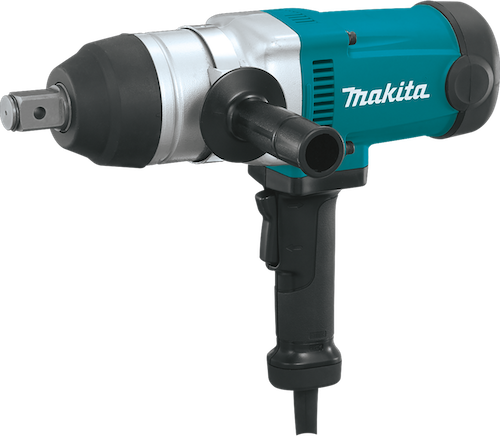
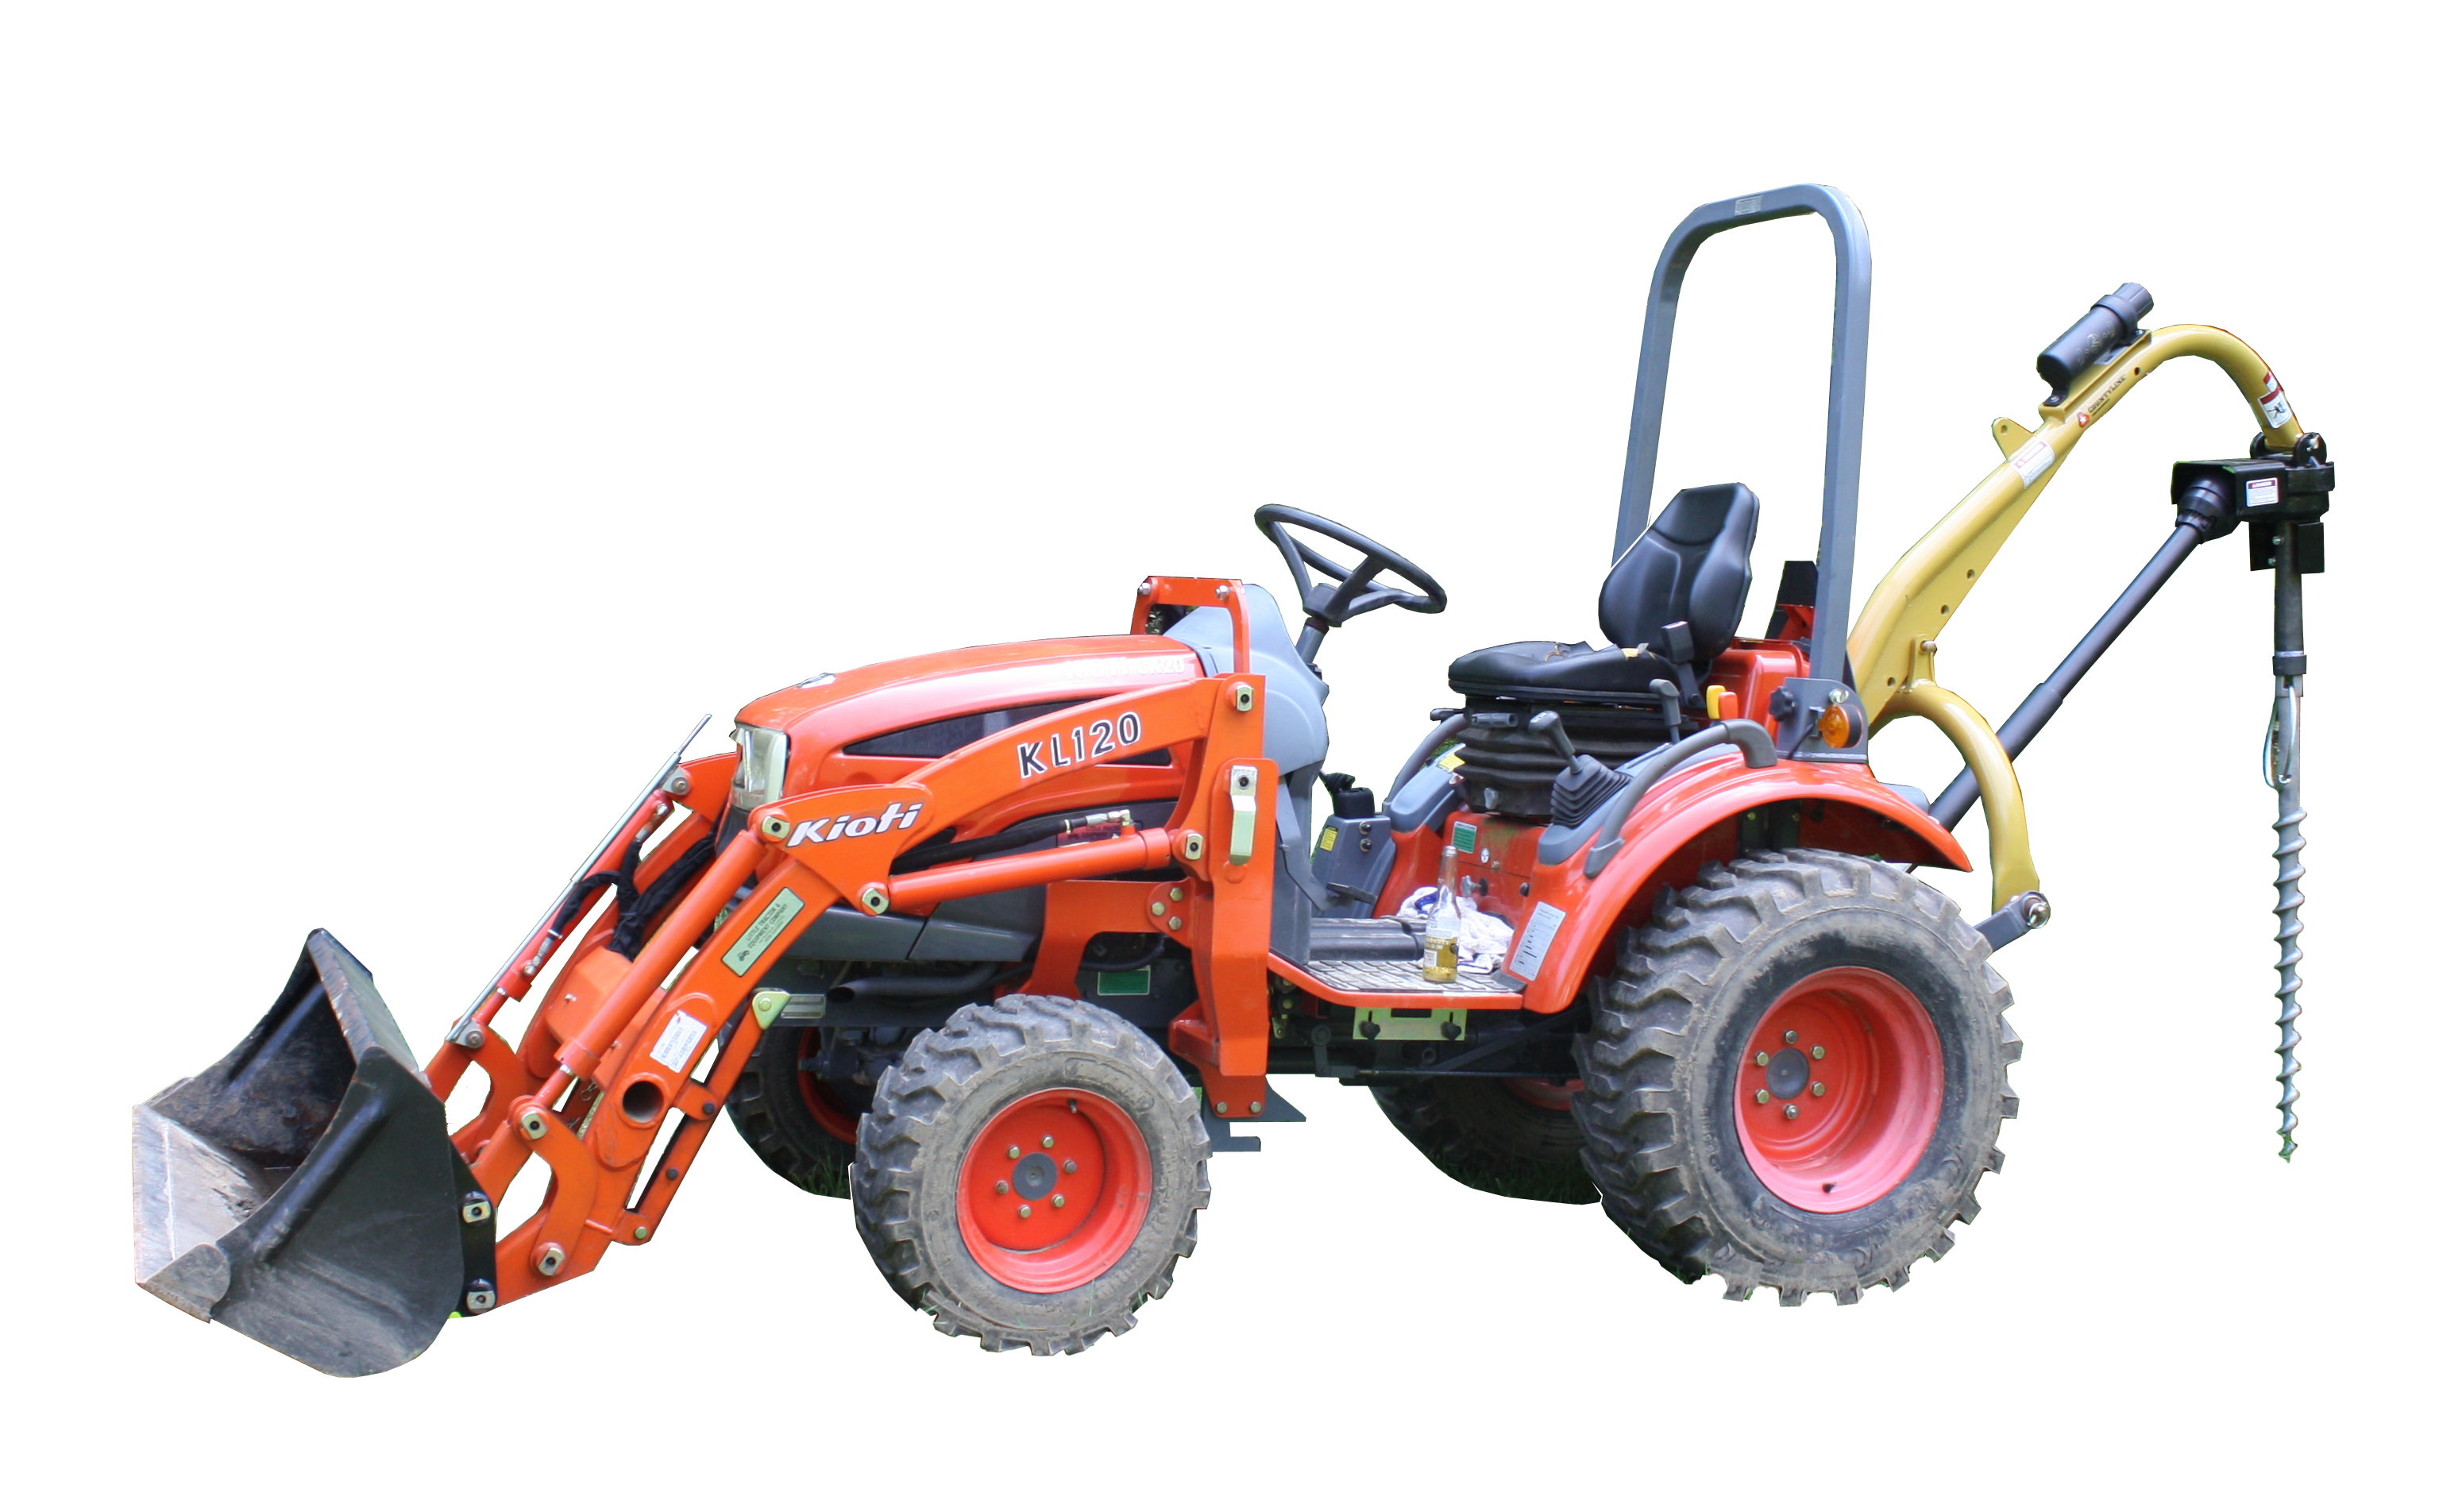
There are three installation methods for Penetrators, depending on the anchor style. 1) By hand, 2) Socket drive, 3) Square drive. The most common power tool used is an impact wrench, and we sell the Makita TW1000 Impact Wrench for installing the PE36, PE46-Flat, PE46-Guy, PE46-Hex and PE46-Hex8 anchors. The illustrations below and videos provide more detail. You’ll find an installation PDF included on every Penetrator product page, as installation methods will vary depending on the anchor size.
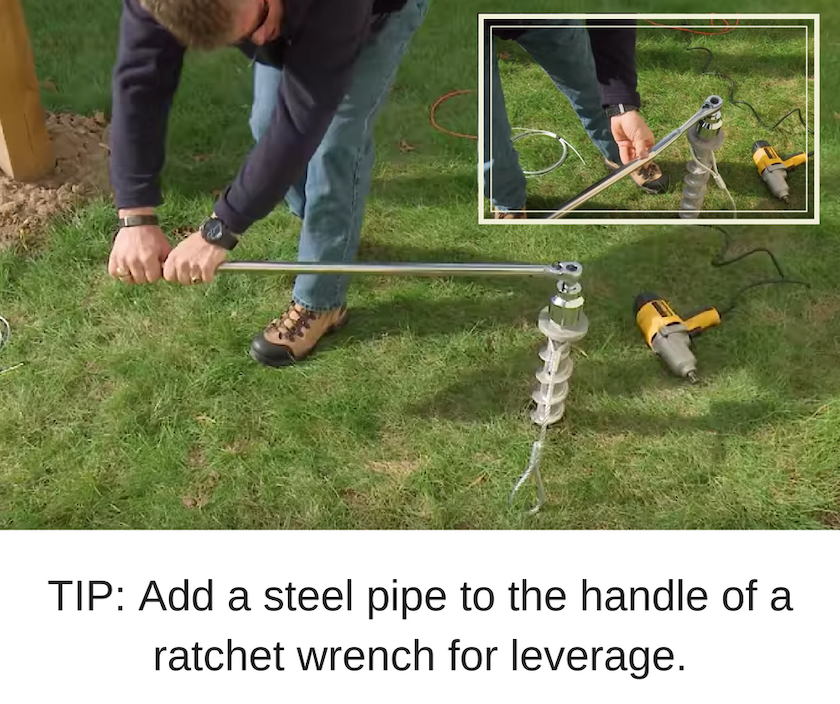
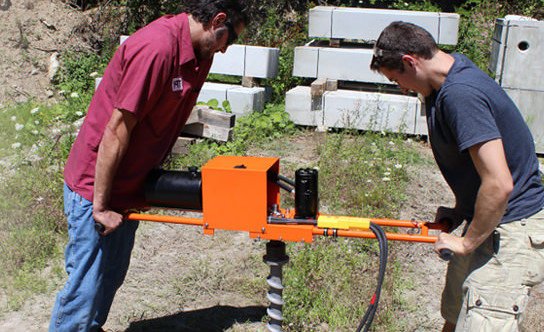
For larger PE36 and PE46 anchors, this featured video from Sailrite PE36 Installation - Watch on YouTube shows how a combination of impact wrench and steel pipe (by hand) installation methods may work best for your application.
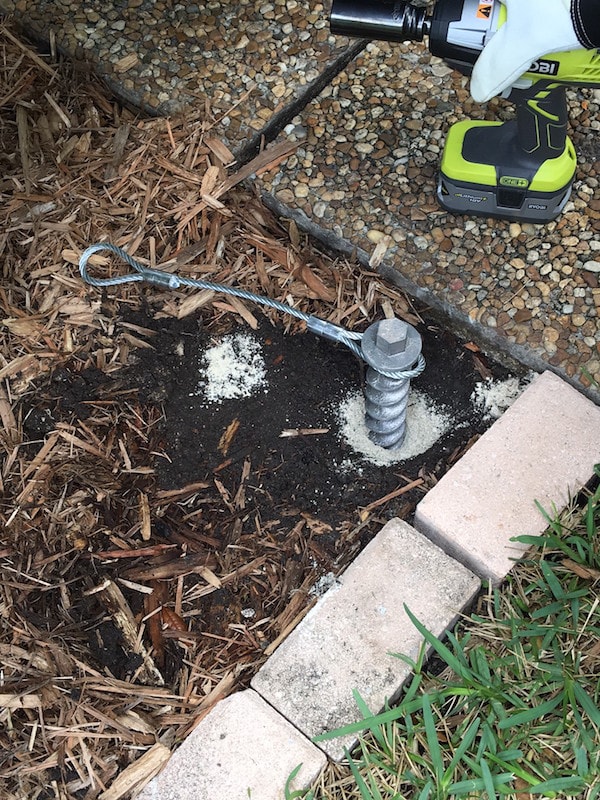
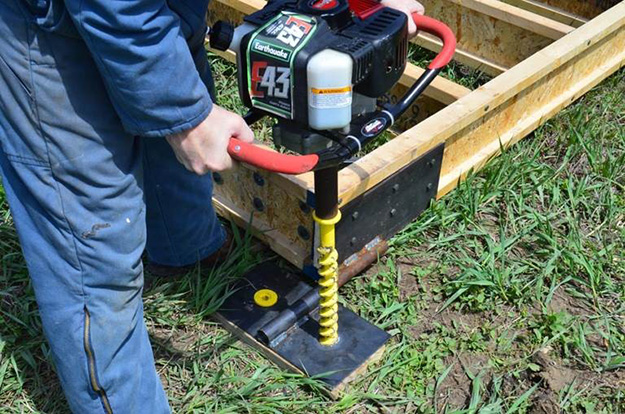
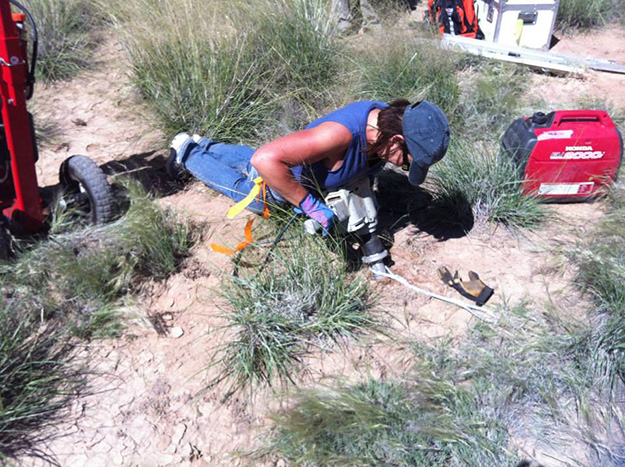
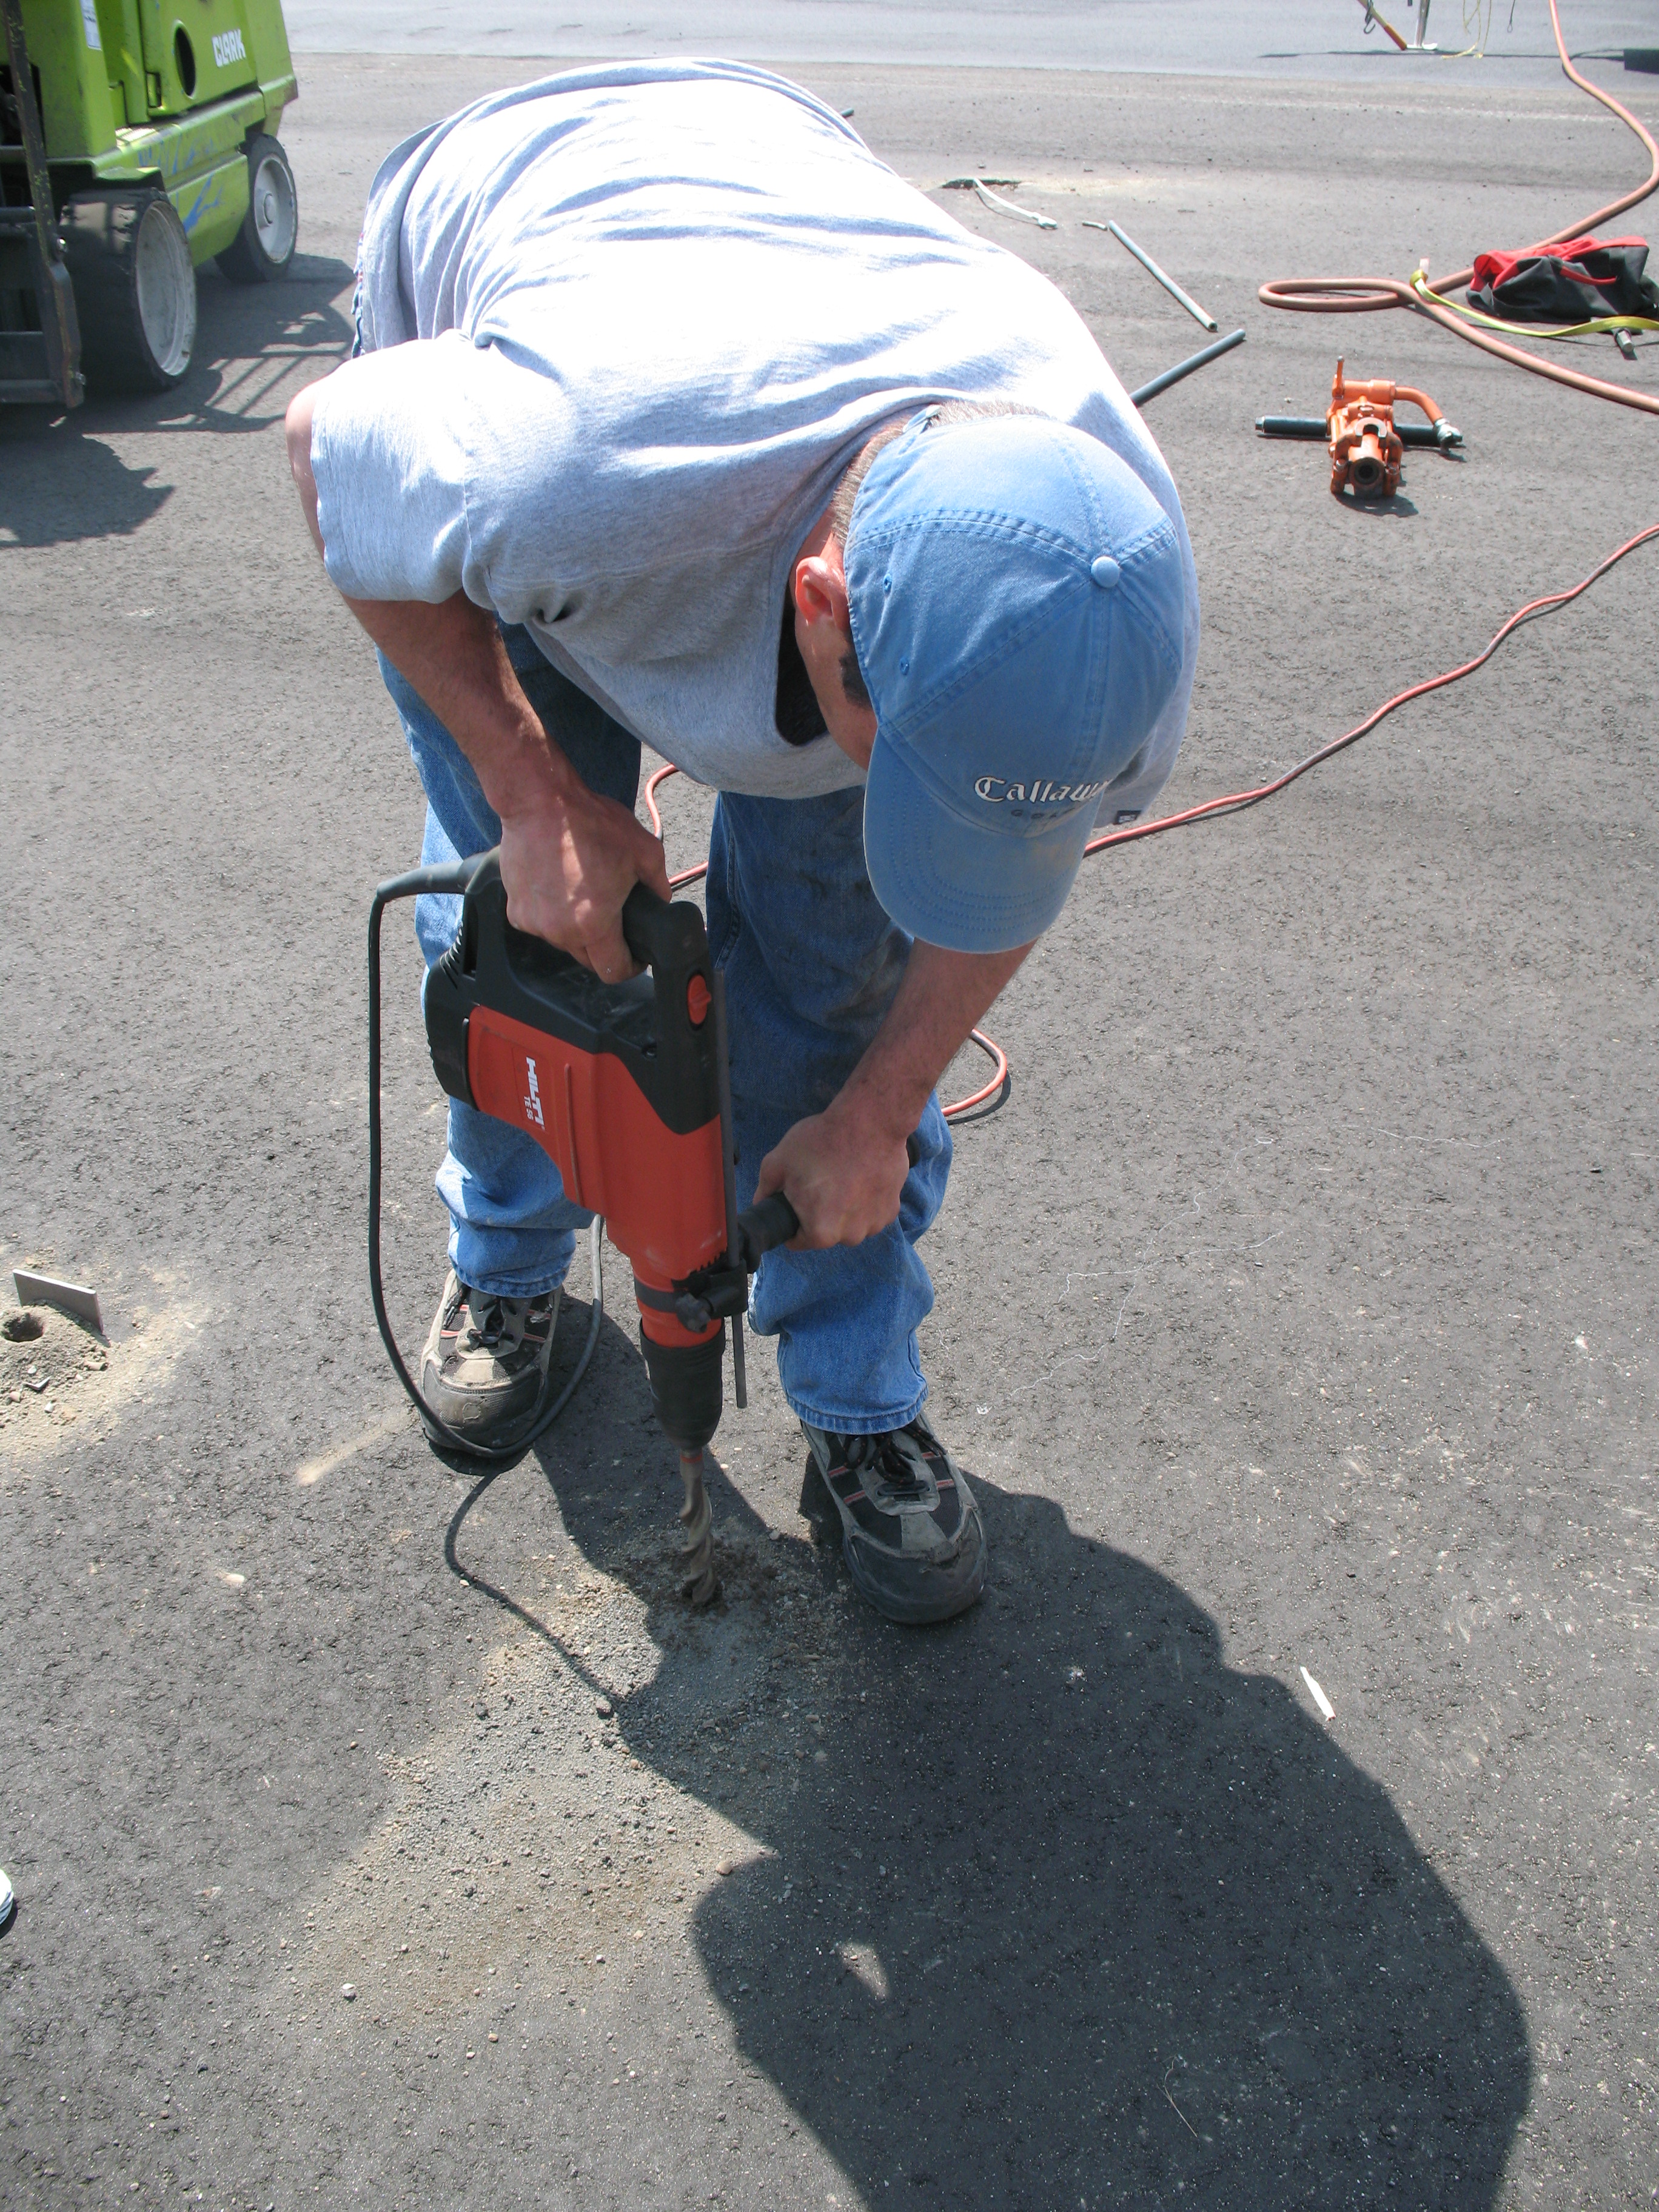
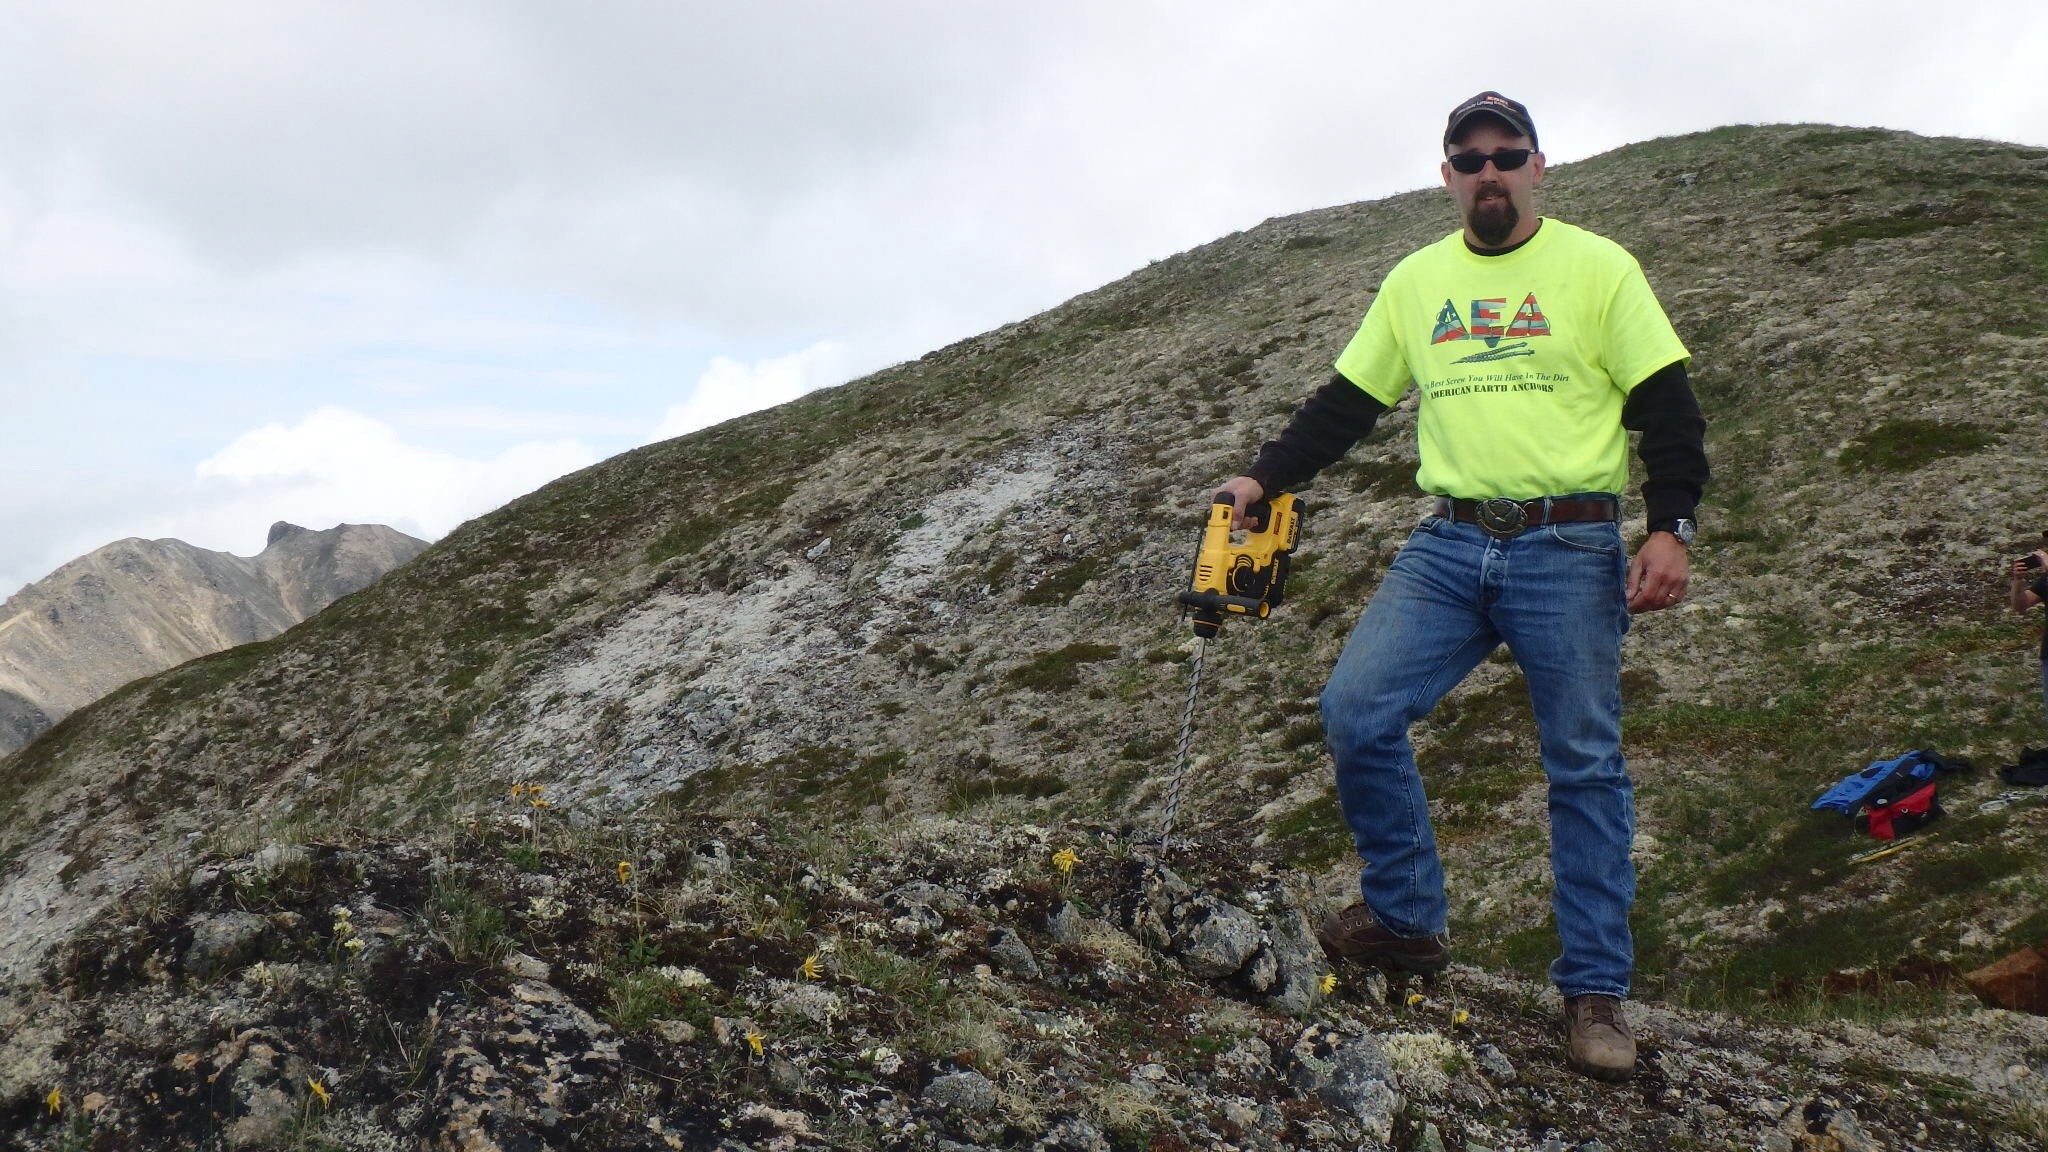
PRE-DRILLING: Pre-drilling is highly recommended when installing Penetrator anchors into asphalt, gravel, hard clay, rocky soil, or when obstacles like roots, rocks, pipes, or boulders may be present in the soil. Read more about Pre-Drilling here. Pre-drilling pilot holes for anchors prior to installation using an auger bit can alert you to large rocks in the earth if you are unsure how rocky it is underneath the topsoil. Depending on the soil type, anchors can actually "push aside" rocks (up to softball/grapefruit sized) during the installation process. If you encounter rocks, check out this article: Anchoring in Rocky Conditions .
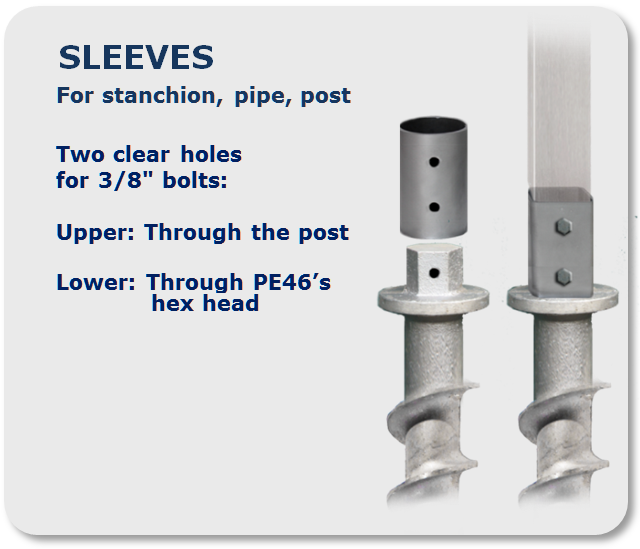
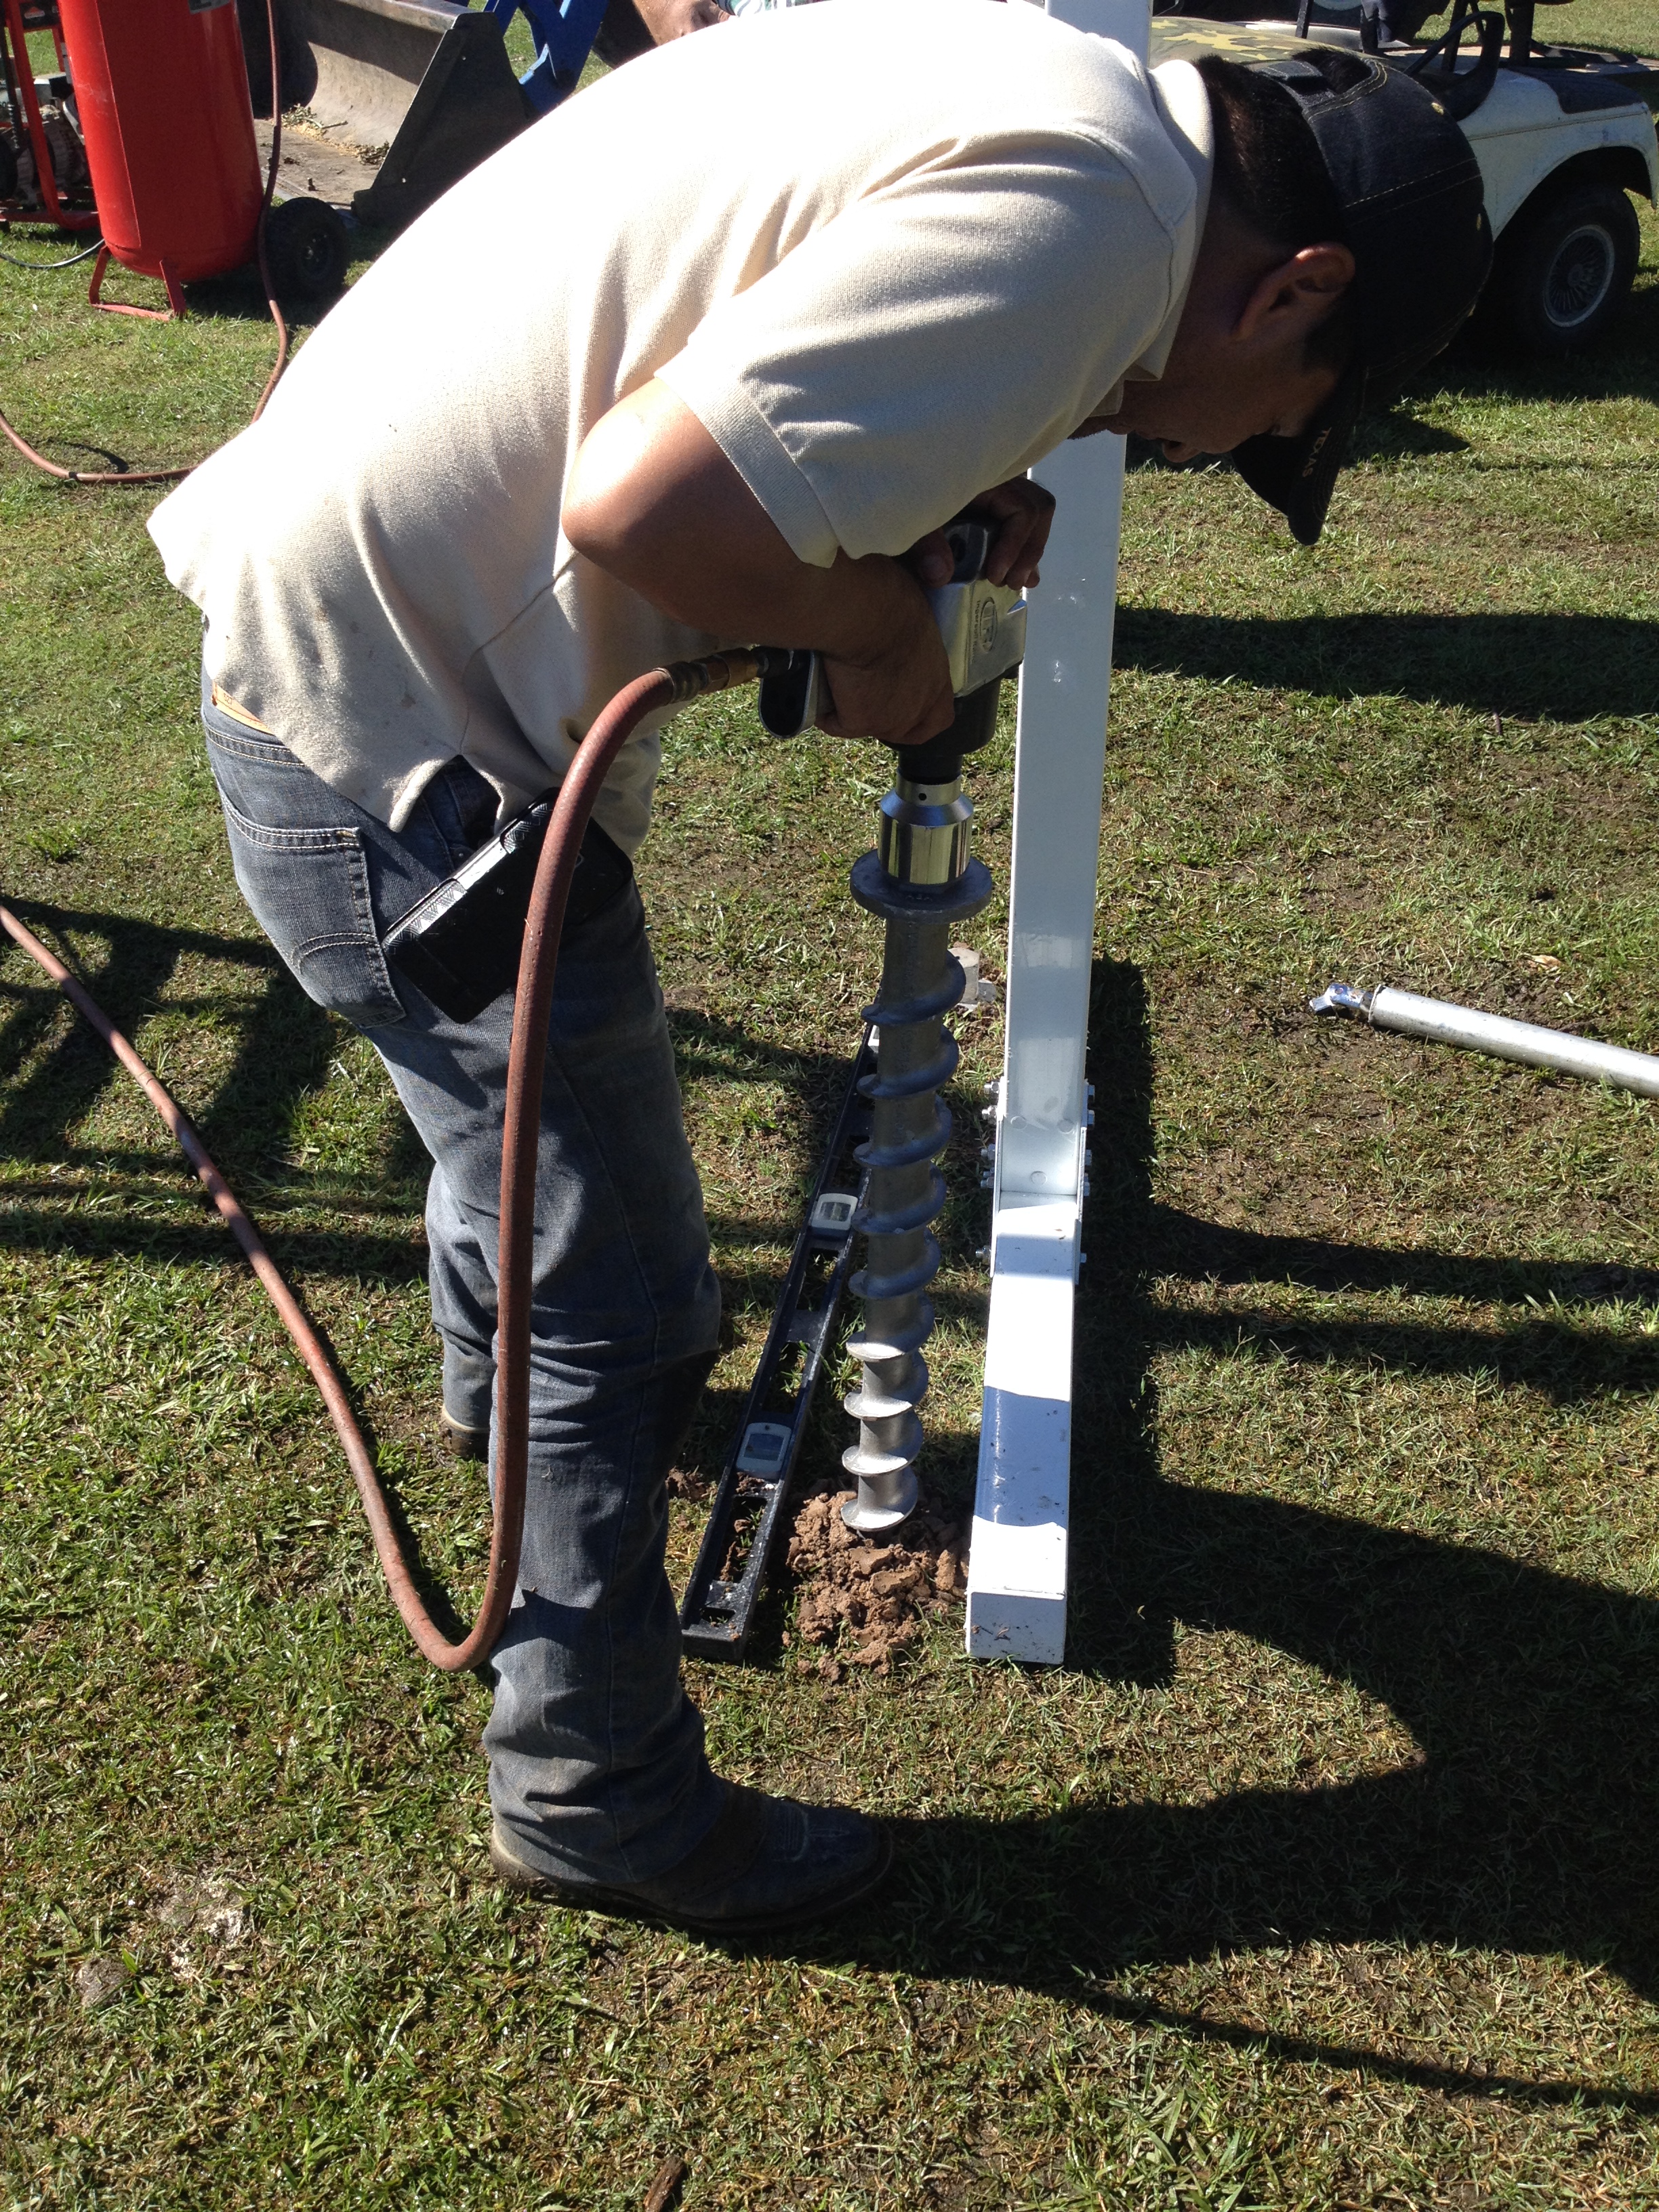
BRACING AND STRUCTURE SUPPORT: Check out this Penetrator installation video on YouTube showing the PE46-Hex and the PE46-44V bracket holding 4x4 lumber; from our customer, Jack Henderson.
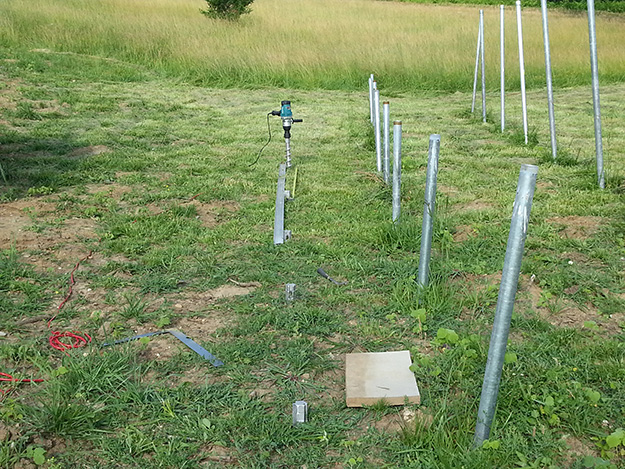
ANCHOR SPACING: How much space should you allow between Penetrators for a large installation? Check out this blog article: Distance Between Anchors .
ASPHALT INSTALLATION TIPS: Download this instructional PDF Installing Anchors into Asphalt .
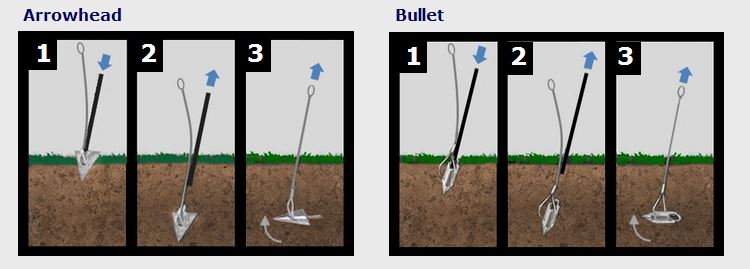
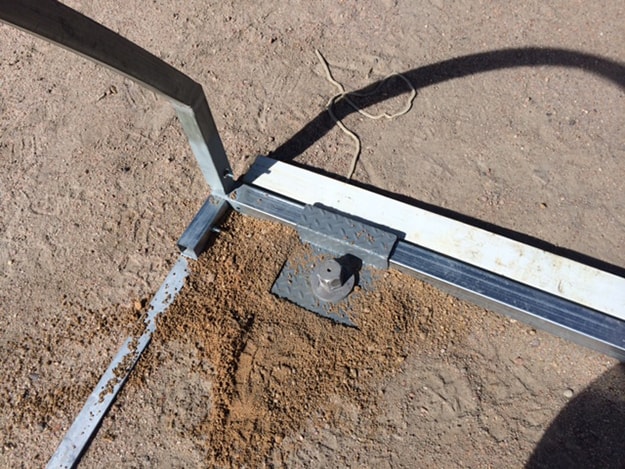
Tap or click to enlarge image

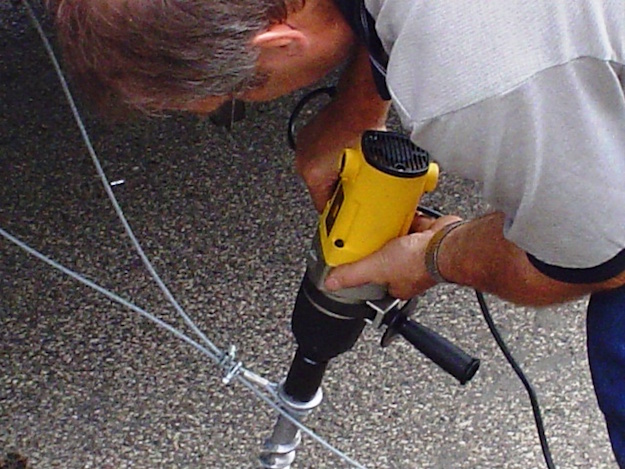

Depending on the soil type, you'll install bullets and arrowheads one of three ways: 1) Manually, with a hammer and drive rod, 2) Power assisted, using a demolition hammer or 3) Power assisted, using a jack hammer, jack, "come along" and anchor locker/proof tester.
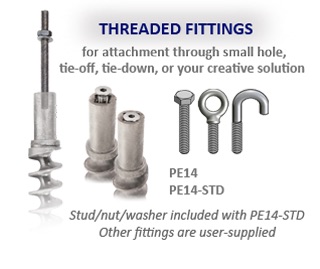
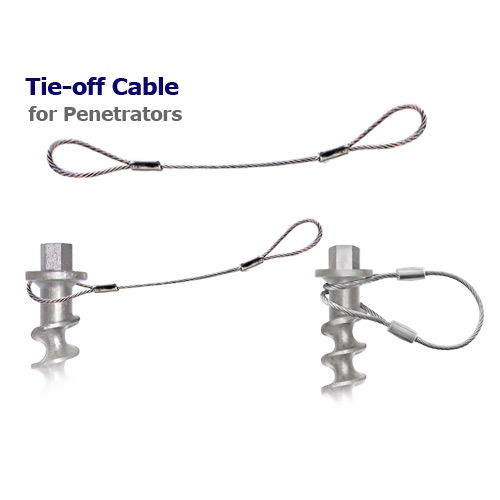
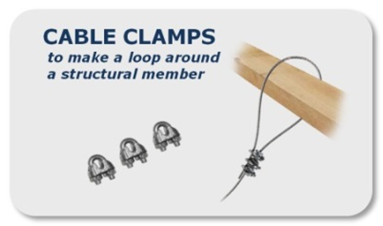
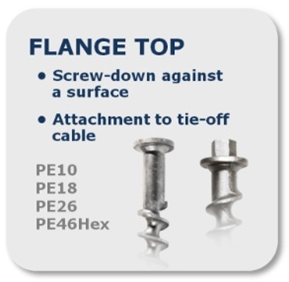
We invite you to read this explanation of the attachment methods for cabled arrowhead and bullet anchors along with the most common uses to help select the right option when ordering.
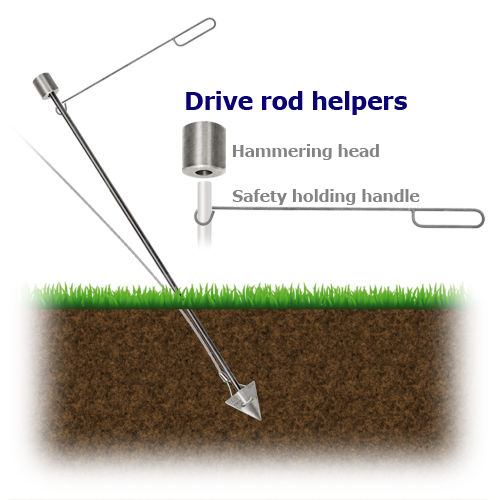
This featured video from our friends at Green Acre Homestead is filled with helpful tips, including drive rod installation and removal.
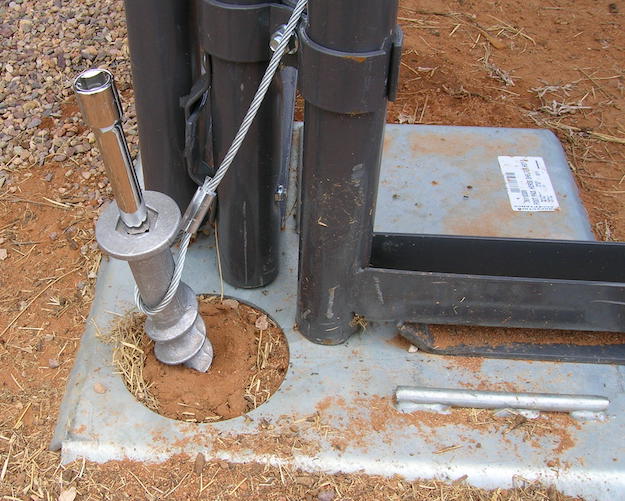
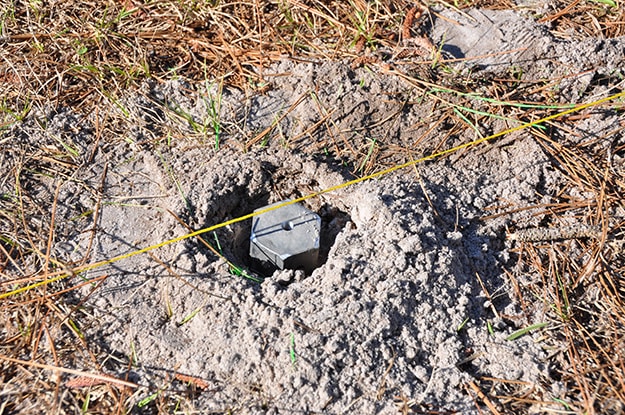
Tap or click to enlarge image